
How Long Should I Freeze Hamster Food To Kill Bugs?
It is a common experience for almost every owner. You buy a fresh bag of seed mix, and suddenly, you see a tiny black speck moving among the grains. Every hamster forum and care guide tells owners to freeze their food to deal with these moving specks. Owners immediately want to know the exact number of days required to permanently “kill” the bugs. While validating that the freezer works to stop this visible activity is simple, searching for a universal number is the wrong approach.
Instead of guessing a random duration, the real secret is properly sealing the bag, checking the specific timeframe printed on the bag you bought, and preventing moisture during the thaw. Freezing your supplies is highly effective, but it comes with immediate practical challenges. If you rush the process, you risk exposing your dry seeds to condensation.
We are going to break down why owners commonly freeze their supplies, how to properly seal and track your new bag, what a safe thaw looks like, and how to check your current storage tub today.
Why do owners commonly freeze hamster food after noticing movement?
Here is what owners commonly observe when they bring a bag of natural seed mix home and place it directly onto a pantry shelf. When you look at the packaging, everything appears perfectly normal. You might open the bag, scoop out a meal, and firmly roll the top down, clipping it shut. However, leaving a sealed bag of natural grains at room temperature sometimes results in visible movement among the seeds. You might look inside a few weeks later and notice the grains shifting, or see tiny dark specks moving against the sides of the plastic.
Look at a bag stored at room temperature. The environment inside a warm, dark pantry cupboard allows whatever is inside those natural grains to remain active. Simply rolling down the top of a bag and placing a heavy clip on it does not stop the movement. The clip keeps new things from getting in, but it does absolutely nothing to stop the activity that is already occurring among the seeds. Owners often find that simply closing the bag tighter does not change what they see happening inside the container.
Compare that with a frozen bag. Owners who immediately place their newly purchased seed mixes into a deeply cold environment observe a completely different outcome. Bags kept at sustained low temperatures remain completely static and clean. When you pull a frozen bag out and inspect the contents, there is no shifting, no tiny moving specks, and no changes to the physical structure of the food. This simple visual contrast is exactly why a freezing routine is widely adopted to manage visible activity. The freezer keeps the food completely static, ensuring that what you pour into your hamster’s bowl looks exactly the same as the day you bought it.
You can easily see this when you do a direct pantry comparison. If you bring a brand-new bag of food home from the store and place it next to a bag that has been sitting in your cupboard for a month, the visual difference is often striking. Look closely at the new bag. The grains sit perfectly static. The dust at the bottom of the bag does not move. Now, compare that to the older bag. You might notice the dust shifting slightly, or see tiny specks walking along the clear plastic window. Comparing a new tub to an old, room-temperature tub reveals exactly what happens when seeds sit in a warm environment.
Owners often focus on freezing seed mixes after discovering movement in stored food, but seeds are not the only ingredients that spend long periods in storage. Many commercial blends also contain dried plant materials that remain vulnerable to the same storage concerns. As a result, some keepers begin evaluating whether the same preventative approach should be applied to herbs before those ingredients are added to the enclosure.
How do you establish a timeframe and execution routine for freezing a new bag of seed mix?
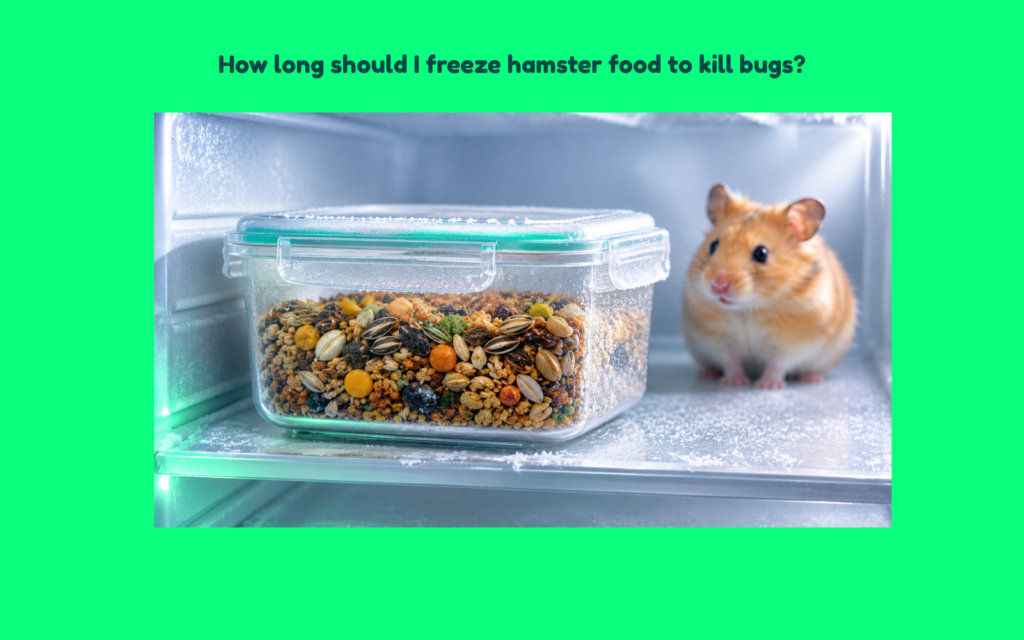
To successfully manage your supplies without ruining them, you have to follow a strict physical routine. The very first step is protecting the seeds from the cold. Place the original bag inside a secondary container. Do not simply throw the store-bought bag directly onto the freezer shelf. The original packaging is often thin and prone to micro-tears. You need to physically double-seal the food by placing the sealed original bag inside a heavy-duty freezer bag or a rigid, airtight plastic tub.
Once the food is heavily protected, you need to establish how long it stays in the cold. Check the instructions printed on the bag. Many premium seed mixes specifically state the required freezing duration right on the back label. Instead of guessing a random number of days, look at the physical packaging. The brand will often provide the exact timeframe necessary to effectively stop any movement in their specific blend of ingredients.
Track the days on your calendar. This is where many unmeasured freezing attempts fail. If you just place the bag in the freezer and hope to remember it later, you lose track of the process. To execute this correctly, take a permanent marker and write the exact date on a piece of tape. Stick that tape directly onto the secondary container before you place it in the freezer. Next, write the target removal date on your physical calendar or set a specific reminder on your phone.
While the food is in the freezer, your daily routine changes to observation. Check the calendar, not the bag. If you open the freezer door to look at the bag every single day, you are disrupting the process. You might see frost building up on the outside of the secondary container, which is completely normal. Leave the container completely undisturbed until the exact date you wrote on your calendar arrives. Consider the massive difference between an unsealed, unmeasured attempt and a strictly tracked routine:
Unsealed and Unmeasured
If you throw a loose, unsealed bag into the freezer for an undetermined amount of time, the cold air seeps into the packaging, leaving the seeds looking dry and damaged.
Strictly Tracked and Double-Sealed
A strictly tracked, double-sealed routine keeps the seeds perfectly dry. The secondary container blocks the frost, and the calendar tracking ensures the bag is removed exactly when the brand recommends.
What visual signs distinguish safely thawed food from a moisture-compromised batch?
The most critical moment in the entire routine is when you remove the bag from the freezer. Bringing extremely cold seeds into a warm room creates a massive physical risk of moisture. You must allow the double-sealed bag to sit on the counter and fully return to room temperature before you even think about opening it to the air. Opening a cold bag immediately pulls moisture from the air, ruining the food.
To prevent this, you need to conduct a room-temperature return check. Place the frozen, sealed bag on your kitchen counter. During the first few minutes, you will notice the outside of the plastic turning white with frost as it reacts to the warm room. Over the next few hours, that frost will melt into visible water droplets on the exterior. This is why you double-sealed the food. You must wait until the bag feels completely room-temperature to the touch and the outside is entirely dry before proceeding. When the bag has finally reached room temperature, you need to conduct a visual comparison:
Safely Thawed Food
Look closely at the inside of the plastic. In a safely thawed bag, the plastic will be completely clear. The seeds will be completely dry and loose. If you gently shake the container, the grains should move easily, looking exactly like they did before freezing. There should be absolutely no fog or mist on the inside of the packaging.
Moisture-Exposed Food
Conversely, moisture-exposed food looks completely different. Check for water droplets. If you opened the bag too early, you will see visible beads of water clinging to the inside of the plastic. The moisture will immediately coat the ingredients. You might see actual frost melting on the larger pieces of corn or peas. Notice if the seeds clump together. A dry, successful thaw results in seeds that fall away from each other. If the food was exposed to condensation, the ingredients will look unusually dark and damp. When you shake the bag, the damp seeds will stick together in heavy clumps at the bottom. These physical signs—water droplets, fogged plastic, and dark, clumping grains—are the obvious visual indicators of condensation. If you see these signs, the food has been exposed to water and is no longer safe to store.
What should you do if you observe moisture or movement after the freezing process?
Sometimes, despite your best efforts, a bag does not survive the thawing process well. If you suspect the bag has been exposed to condensation, or if you still see tiny shifting specks, you need to handle the situation carefully. Keep the routine entirely practical.
- Pause before filling the main tub. Never take a freshly thawed bag and pour it directly over your existing, safe supply of food. You must isolate the new bag to determine its condition. Pour a small sample of the newly thawed seeds into a separate, clean bowl or spread them out on a dry paper towel under a bright light.
- Observe the seeds for dampness. Run your fingers through the sample. Do they feel completely dry and smooth, or is there a slight stickiness to the grains? Do they clump together when you push them into a pile? If you feel any dampness or see the ingredients sticking together, the thaw was compromised.
- Look closely for any remaining movement. Stare at the isolated sample for a full minute. Does anything shift? Do you see any tiny dark specks moving away from the light? If the sample is completely dry and perfectly still, you can confidently add it to your main storage tub. However, if you confirm the presence of moisture, damp clumping, or any movement whatsoever, stop using the food immediately. Throw the compromised food away in an outside bin, and adjust your sealing and thawing routine for the very next bag you buy.
How do you audit your current storage setup to verify the condition of your previously frozen food today?
You do not have to wait until you buy a new bag to check your supplies. You can evaluate your active, room-temperature storage tub right now. Walk over to your storage tub and bring it out into a well-lit area of your kitchen.
To get the full picture, you need to conduct a full storage walkthrough, checking the food layer by layer. Start by looking at the lid. Turn the lid over and check the rubber seal. Are there any tiny specks hiding in the crevices? Next, look at the clear plastic sides of the container. Hold the tub up to the light and check for streaks of condensation or fog trapped against the plastic walls.
Look at the top layer of the food. The seeds resting on the surface should look completely dry and separate. Now, take a clean spoon and push the top layer aside to compare it with the middle layer. Notice how the seeds behave when you stir them. Do they shift loosely, or do they lift up in large, stuck-together chunks? Check the corners of the tub, as this is often where rejected herbs and heavy seeds settle. Compare the top layer with the bottom. Often, movement or clumping hides at the very base of the container. Gently tilt the tub to look at the bottom layer. Are the seeds sitting loosely, or is the fine dust at the bottom shifting on its own?
Use this quick-reference audit checklist to verify your supplies:
Quick-Reference Audit Checklist
- Target issue: Checking the current storage tub for moisture or movement.
- Visual indicator: Locating condensation streaks on the plastic, clumped seeds, dark patches, or moving specks.
- Required change: Confirming if the seed mix appears consistently dry and static across the entire container.
- Action to take: Removing the food from the tub and reassessing your thawing protocol if moisture, dark patches, or movement is visually confirmed.
Consistent visual checks are the only way to effectively manage your supplies. If you look at your active storage tub today and spot any clumping, water droplets, or movement among the grains, stop using the food immediately, discard the contents in an outside bin, and wash the container thoroughly.
References & Further Reading
Disclaimer: The information provided on HamsterAtlas is for educational and observational purposes only. It is not a substitute for professional veterinary advice. Always consult with a qualified exotic veterinarian if you have specific concerns about your hamster’s health, diet, or living environment.